约 300 字
1 分钟
安装和使用rclone挂载alist到本地
-
无标签
安装alist
在1panel应用商店搜索alist安装

blog image 容器列表点击
终端按钮,进入容器内执行命令设置密码。
纯文本
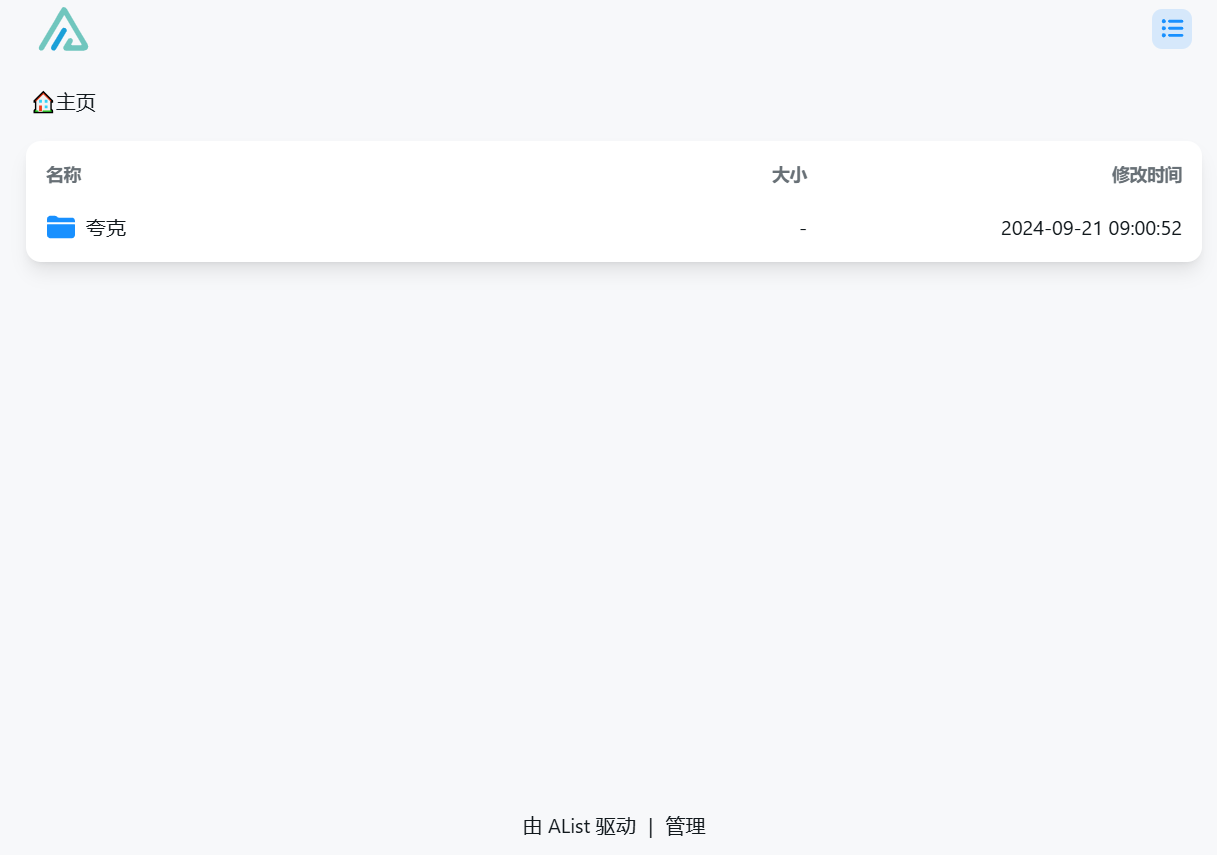
添加网盘 进入首页-
管理-添加
安装Rclone
复制rclone文件到/usr/bin目录 rclone文件下载:https://pan.quark.cn/s/53ffaa640cbc
增加可执行权限
纯文本
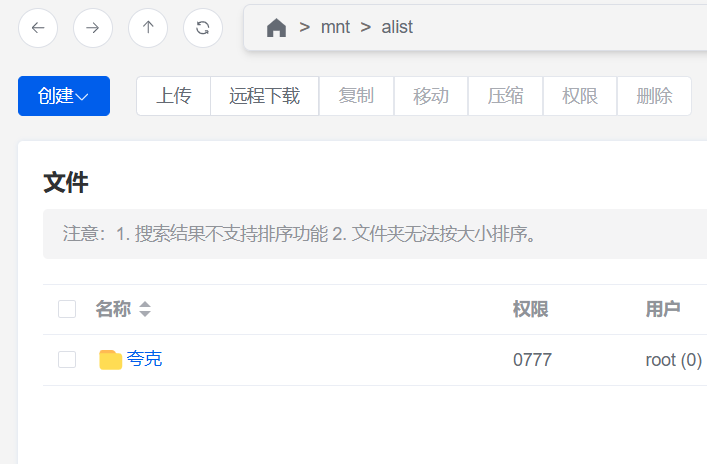
新建挂载文件夹 /mnt/alist
rclone配置
纯文本
alist的url:http://192.168.2.129:5244/ rclone配置名:alist
查看配置是否正确
纯文本
运行命令进行挂载
纯文本
设置开机自启
进行卸载
纯文本
添加开机启动脚本内容
纯文本
添加:
纯文本
验证并让开机脚本生效
更新systemd目录
纯文本
创建开机快捷方式
纯文本
启动服务
纯文本
查看服务状态
纯文本

windows上直接访问alist文件夹
[[Ubuntu开启samba文件共享]]
相关文章
暂无相关文章