约 300 字
1 分钟
家庭服务器安装PVE虚拟机
-
无标签
安装PVE虚拟机系统
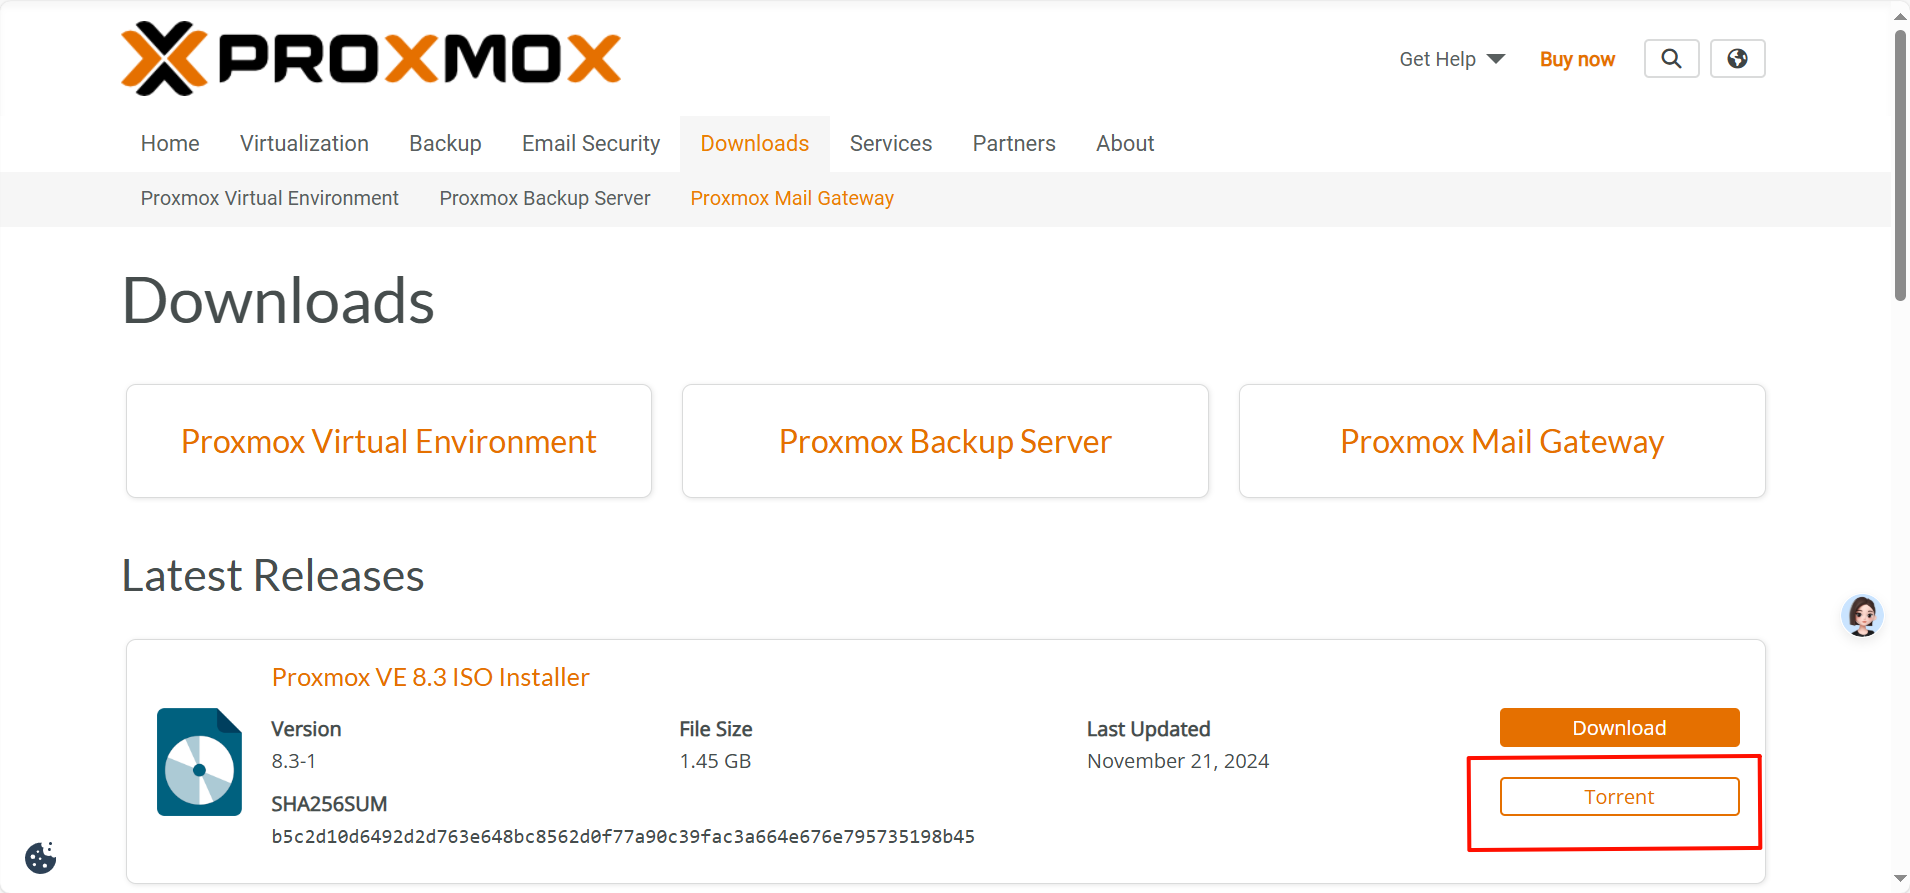
官网下载PVE的最新镜像
官网地址: https://www.proxmox.com/
官网下载地址:https://www.proxmox.com/en/downloads
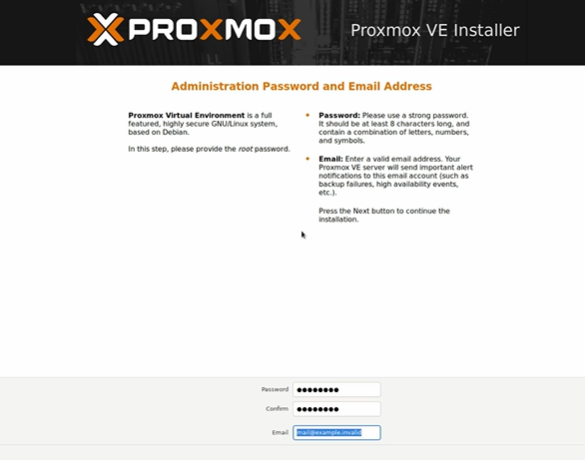
安装PVE到服务器上,设置密码及ip
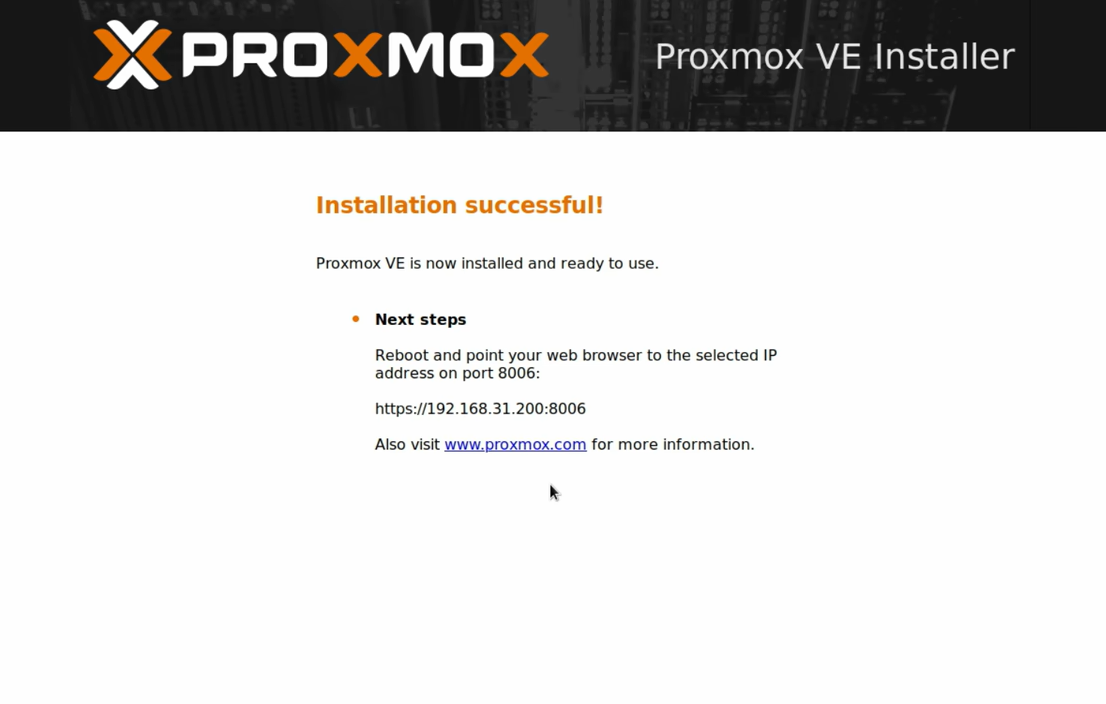
安装完毕,记住ip后重启
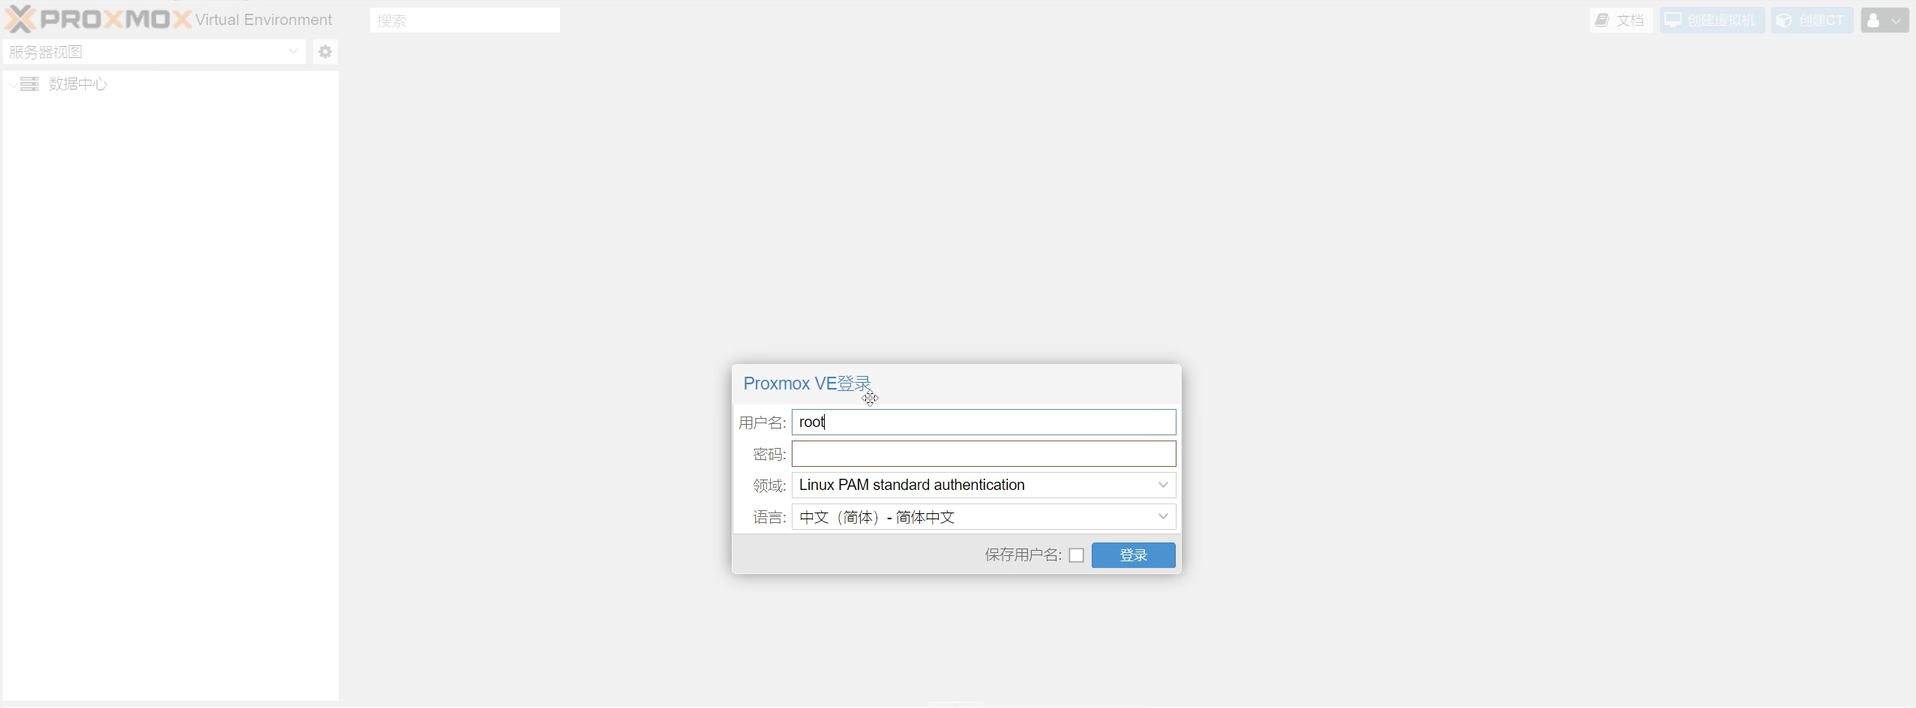
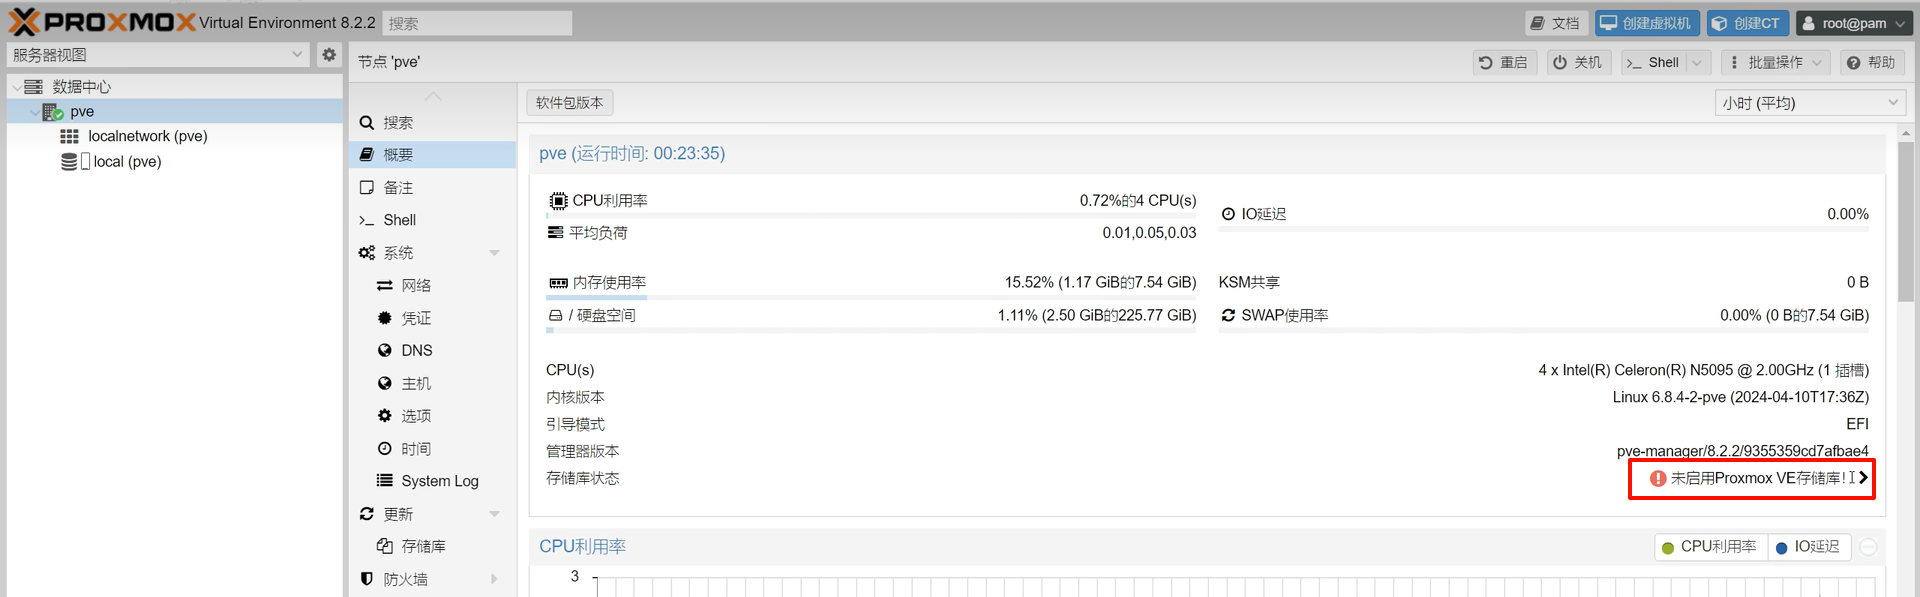
PVE虚拟机的基础设置
电脑登陆浏览器输入pve的ip+端口
合并硬盘分区
删除local-lvm
纯文本
扩容local
纯文本
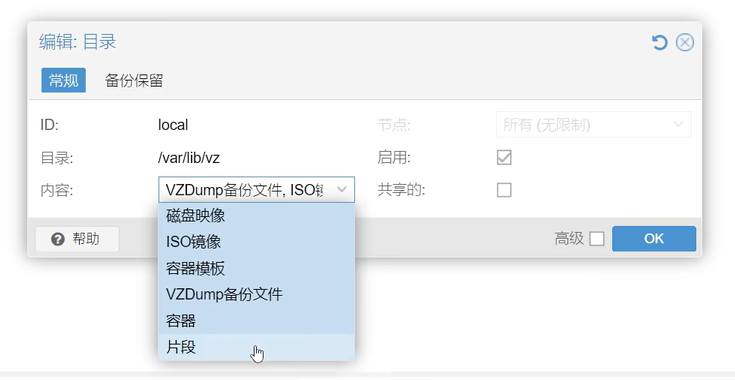
然后数据中心进行图形界面的local-lvm删除

local编辑——选择全部内容,然后重启

更换软件源
清华源:https://mirrors.tuna.tsinghua.edu.cn/help/debian/
纯文本
添加网页上的内容,保存退出。
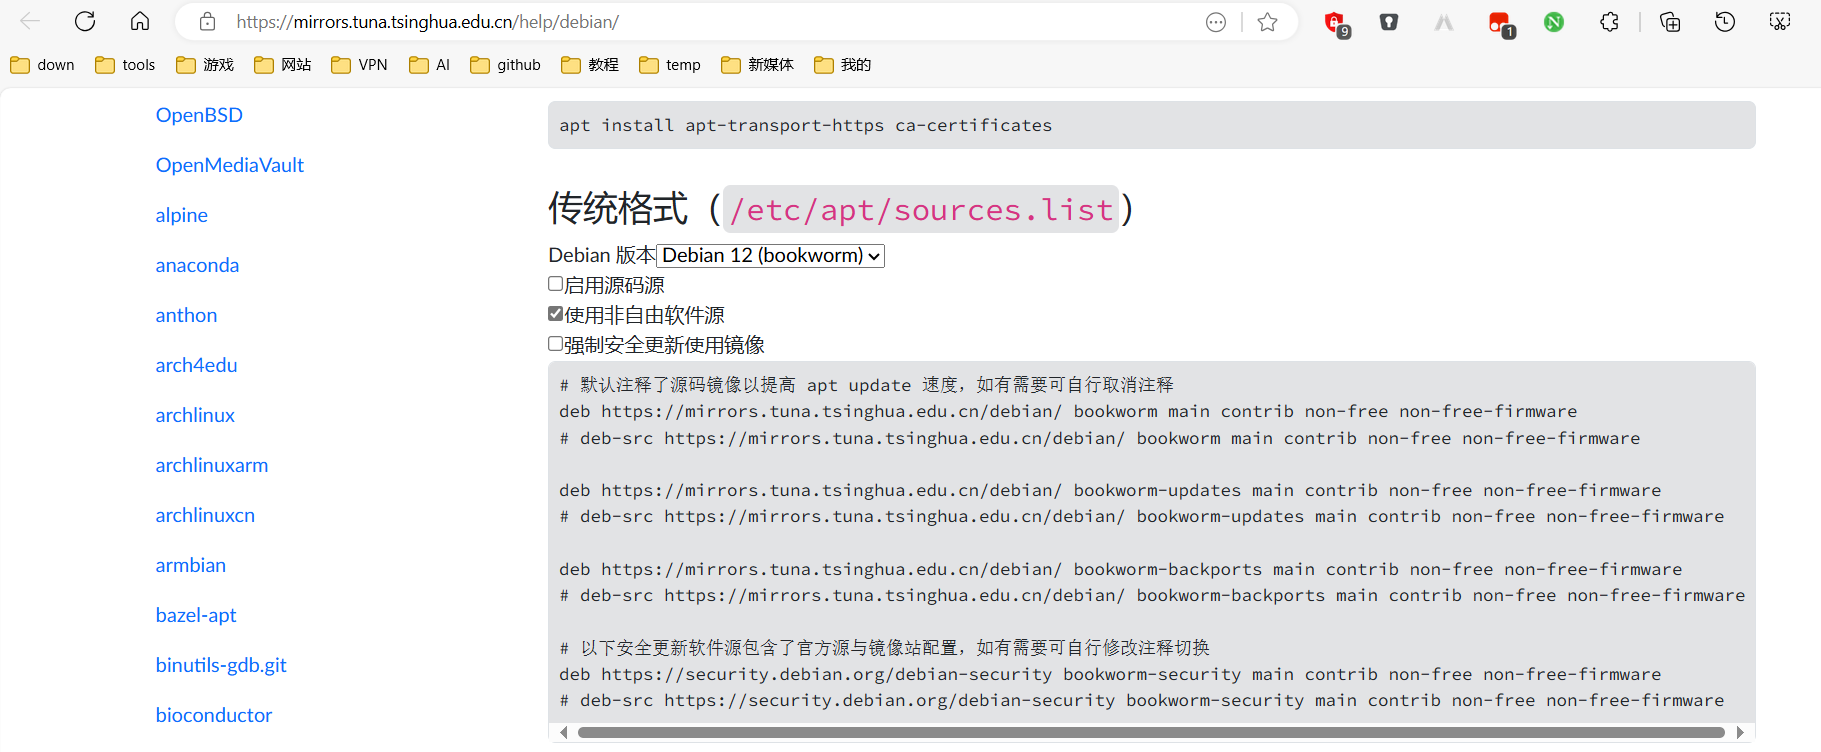
建议全部修改成清华源:deb https://mirrors.tuna.tsinghua.edu.cn/debian-security bookworm-security main contrib non-free non-free-firmware
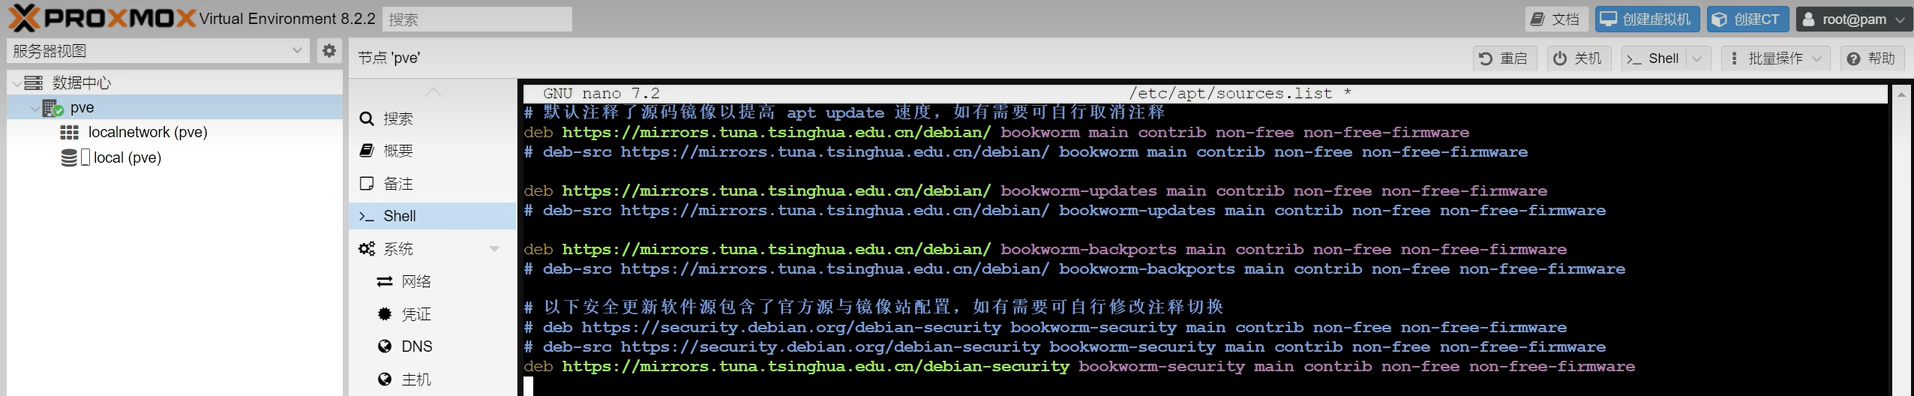
此处之后会多出一个pve的源影响下载速度,要删掉
修改pve源
清华源:https://mirrors.tuna.tsinghua.edu.cn/help/proxmox/
纯文本
加入内容 deb https://mirrors.tuna.tsinghua.edu.cn/proxmox/debian/pve bookworm pve-no-subscription

去掉企业源
纯文本
前面加入#

去掉ceph源(有需要的可以之后自行修改)
纯文本
前面加入#

PVE更新--存储库里面添加pve-no-subscription


去掉登录弹窗:
纯文本
更新软件源,升级软件
纯文本
开启IPV6(可选)
纯文本
添加如下内容:
纯文本
重启系统:
reboot
相关文章
暂无相关文章